To sync audio and video, you're essentially just aligning the sound waves from your separate recordings. The classic way to do this is by creating a sharp, easily identifiable spike in both the audio and video tracks at the same time—think of a hand clap or a clapperboard slate. That spike becomes your anchor point, making it simple to line up the high-quality external audio with the on-screen action in your editing software.
Why Flawless Audio Sync Is So Important
Before we get into the "how," let's talk about the "why." Because if you don't nail this, nothing else really matters.
Even a delay of a few frames between what your audience sees and what they hear creates a deeply unsettling experience. We've all seen it—that weird, distracting "dubbed movie effect." It immediately screams unprofessional and can shatter your audience's trust in a matter of seconds.
Our brains are wired to process sight and sound as a single, unified experience. When that connection is broken, it forces the brain to work overtime just to make sense of what's happening. That tiny bit of cognitive friction is often all it takes for a viewer to get frustrated and click away, tanking your video's watch time.
The Impact on Viewer Engagement
Out-of-sync audio doesn't just feel awkward; it actively torpedoes your content's credibility. It can make a beautifully shot, brilliantly scripted video feel cheap and amateur. For any creator or brand, that translates directly into lost engagement and a tarnished reputation.
If you're just starting out, getting this right from day one is critical. This comprehensive streaming setup guide is a great resource that stresses the importance of audio from the get-go.
Your audience might not be able to pinpoint exactly why your video feels "off," but they'll feel it instantly. Perfect audio sync is an invisible art—when you do it right, nobody notices. When you get it wrong, it ruins everything.
The Growing Need for Precision
The demand for perfect synchronization is bigger than ever. In fact, the global Lip-Sync Technology Market was valued at USD 1.12 billion in 2024 and is on track to hit USD 5.76 billion by 2034.
This isn't just about fancy tech; it's about results. Studies have shown that properly synced videos can hold 25-30% more viewer attention than misaligned ones. In a world where every second of engagement counts, that's a massive advantage.
Ultimately, knowing how to sync audio and video is a non-negotiable skill for any serious creator. It protects your brand, keeps viewers locked in, and makes sure your message lands exactly as you intended.
And once your audio is perfectly synced, the next step is making it accessible to everyone. Check out our guide on how to add captions to videos to make your content even more impactful.
Getting Hands-On with Manual Syncing Techniques
While automatic sync tools are a lifesaver, sometimes you just have to get your hands dirty. Mastering the art of manual syncing is a fundamental skill for any editor, especially when you’re dealing with tricky recordings or projects where "close enough" just won't cut it. This is where you, not the software, are in complete control.
Let's strip it back to basics. The heart of manual syncing is finding a single, sharp moment that’s crystal clear in both your video and your separate audio file. This shared "sync point" is the anchor for everything that follows.
Finding Your Sync Point Without a Clapperboard
Don't have a clapperboard? Don't worry. You can create a perfectly usable sync point with just about anything, or even find one that happened by accident.
- The Classic Hand Clap: It’s a classic for a reason. A single, sharp clap at the start of a take gives you a clear visual motion and a huge, unmistakable spike on the audio waveform. It's the simplest and often the most reliable method.
- Verbal Cues: A loud, sharp word works wonders. Yelling "MARK!" creates a hard "k" sound that shows up as a clean peak in your audio. The key is making sure the camera can clearly see the person's face when they say it.
- Environmental Sounds: Keep your ears open on set. Sometimes, the environment gives you a freebie. A door slamming, a book dropping off a table—any sudden, loud noise can serve as a perfect, unplanned sync point.
The trick is that the event has to be both visible and audible. A quiet sniffle is useless, but a loud, on-camera sneeze? That could be your golden ticket. This is how you start to "see" sound in your editing timeline.
Aligning Waveforms in Your Editing Software
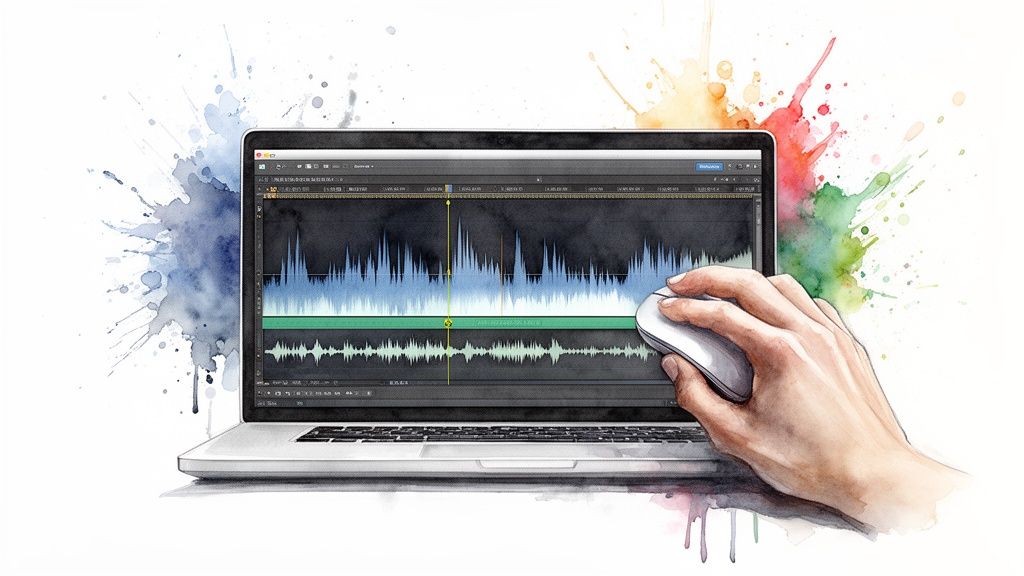
Once you've got your sync point, the real work begins inside your video editor, whether that's Premiere Pro or DaVinci Resolve. You're going to be living in the audio waveforms—the visual blueprint of your sound.
The goal is simple: match the peaks. Think of it like a visual puzzle. You’re looking for the exact same mountain peak in two different audio tracks and sliding one until they perfectly overlap.
Start by placing your main video clip (with its built-in camera audio) on one track. Then, put your high-quality external audio on a separate track right underneath it. Now, zoom way in on your timeline until you can see the waveforms in detail. Find that spike from your hand clap or other sync point in both tracks.
Now, just carefully nudge the external audio clip left or right until its peak lines up perfectly with the peak from the camera's audio. You'll probably need to zoom in to the single-frame level to get it absolutely spot-on.
Once they're aligned, you can mute or just delete the camera's original scratch audio, leaving only your crisp, clean external recording. Play it back, and you should have perfect sync. This hands-on process gives you total control and is a core skill for syncing audio and video with confidence, no matter what you're working with.
How to Use Automatic Sync Features in Your Editor
While manually syncing clips gives you the absolute final say, it’s a massive time sink, especially when you’re up against a deadline. This is where the magic of built-in automatic sync features comes into play. Modern editors like Adobe Premiere Pro, Final Cut Pro, and DaVinci Resolve can analyze and lock your clips together in seconds, turning a mind-numbing task into a couple of clicks.
So, how does it work? These tools aren't just guessing. They're comparing the audio waveforms from your different sources with incredible precision.
Think of it this way: your camera's terrible scratch audio and the beautiful, clean audio from your dedicated lavalier mic both contain the same spoken words. The software listens to both, identifies the identical peaks and valleys in the soundwaves, and intelligently slides one track until they match up perfectly. It's a lifesaver.
Making Waveform Analysis Work for You
For this automated wizardry to work, you have to give it something decent to work with. Yes, you’re going to delete the camera’s audio track later, but its quality during the sync process is surprisingly important. If that scratch track is just a wall of background noise, the software will have a tough time finding a clear pattern to lock onto.
A perfect real-world example is a multi-camera interview. You've got two cameras rolling, each capturing its own scratch audio, plus a separate, high-quality audio file from a Zoom recorder. Instead of the old-school method—dragging, nudging, and syncing each camera to the master audio one by one—you just select all the clips, hit the sync button, and let the editor do the heavy lifting.
The real power of automatic sync isn't that it lets you get lazy on set. It’s that it massively speeds up your post-production when you’ve already done your job right. Clean scratch audio is the key that unlocks its full potential.
This kind of efficiency is what drives the entire editing industry forward. The Audio and Video Editing Software Market is set to grow by a staggering USD 1.8 billion by 2029, and it’s features like this that are fueling that growth. We’re talking about workflows that are 50-70% faster with up to 90% fewer sync errors. That’s a game-changer for any production team.
Comparing Automatic Sync Methods Across Platforms
Different editors approach automatic syncing in slightly different ways. While the underlying principle of waveform analysis is the same, the implementation and user experience can vary. Here’s a quick breakdown of what to expect from the major players.
Ultimately, all these tools are incredibly powerful. The "best" one often comes down to which ecosystem you're already invested in. They all get the job done, but knowing their little quirks can save you a headache.
When Automatic Sync Fails (and How to Fix It)
As good as this tech is, it’s not infallible. There are a few classic scenarios where your editor might throw its hands up in frustration.
- Noisy Environments: Your camera was too far from the talent, and the scratch audio is mostly wind or room tone. The software has nothing clear to grab onto.
- No Overlapping Audio: You forgot to hit record on your external mic for the first few seconds, or one camera didn't record audio at all. A simple hand clap at the start of a take is your best friend here, giving you a clear visual and audio spike for manual syncing later.
- Significant Audio Drift: On super long recordings—think over an hour—tiny differences between recording devices can cause the audio to slowly fall out of sync. Automated tools line up the start but might not catch the drift at the end.
When an auto-sync fails, don't sweat it. It almost always gets you 95% of the way there. More often than not, the clips are just a few frames off. A quick manual nudge is all it takes to get it perfect. The real pro workflow is using this automation for speed, then applying a human touch for that final polish.
And if you want to see how this concept extends even further, check out our guide on perfecting AI lip sync for a look at the next frontier of automated synchronization.
Using Timecode for Bulletproof Synchronization

When manual alignment feels too slow and automatic sync feels like a gamble, it’s time to pull out the industry's secret weapon: timecode.
Think of it like this: every single frame of your video and audio gets stamped with a unique, unchangeable digital address. It’s the most reliable method out there, period.
Instead of relying on clapper boards or hoping software can decipher your audio waveforms, timecode forces every device on set—from your A-cam to the sound recordist's mixer—to run on the exact same clock. This forges an unbreakable link between all your media, making the sync process in post-production almost ridiculously simple.
How Timecode Works in Practice
Getting a timecode workflow up and running isn't nearly as intimidating as it sounds, especially with all the user-friendly gear available today. The whole process hinges on a concept called jam-syncing.
You start with a master timecode generator, which sets the "time of day" for the entire shoot. You then connect this little box to each camera and audio recorder one by one, which "jams" their internal clocks to match the master. Once they're synced, they stay locked in. Companies like Tentacle Sync have made this super accessible for pretty much any production budget.
Here's how it plays out on a real shoot:
- Set the Master Clock: Power up your timecode generator and just let it run.
- Jam Your Gear: Before you start rolling, plug the generator into each device's timecode input. After a few seconds, it’s synced. You can disconnect it, and that device's internal clock will stay locked on for hours.
- Shoot Freely: Now all your gear is running on the same time. You can start and stop cameras and audio recorders independently without giving sync a second thought.
- One-Click Sync: Back in your edit suite, you just select all your footage and audio from the day, find the "Synchronize by Timecode" command, and click. The software instantly reads the embedded data and snaps everything into perfect alignment.
For any multi-camera shoot, a sit-down interview, or a live event, a timecode workflow is absolutely non-negotiable. It completely removes the guesswork and can save you hours in the edit bay that you’d otherwise waste nudging dozens of clips around.
The Growing Importance of Rock-Solid Sync
The demand for perfect synchronization is a huge driver of innovation in production hardware. Just look at the Video Sync Separator Market—the tech that helps align multiple video feeds. It was valued at USD 474.27 million in 2025 and is projected to skyrocket to USD 722 million by 2033.
This isn't just about making editors' lives easier; it directly impacts viewer experience. In broadcasting, studies have shown that poor lip-sync can cause a 15-20% drop-off in viewership. You can discover more about this growing market and see just how critical stable, frame-accurate sync has become.
Ultimately, using timecode shifts your entire approach from reactive to proactive. You solve the sync problem on set, not in the edit. It’s a small investment in gear and process that pays you back tenfold with a faster, more efficient, and completely frustration-free post-production workflow.
Automating Your Workflow with AI for Scalable Content
Manual syncing, waveform analysis, and even timecode are all just workarounds for the same core challenge—getting separately recorded audio and video to play nice. But what if you could just skip that entire headache? Modern AI platforms are doing just that by generating video directly from your source material, essentially making post-production sync a problem of the past.
This isn't a minor tweak to the old way of doing things; it’s a complete rewrite of the production process. Instead of capturing audio and video separately and then painstakingly stitching them together, these systems create them as a single, perfectly harmonized unit right from the start.
Bypassing Traditional Syncing Bottlenecks
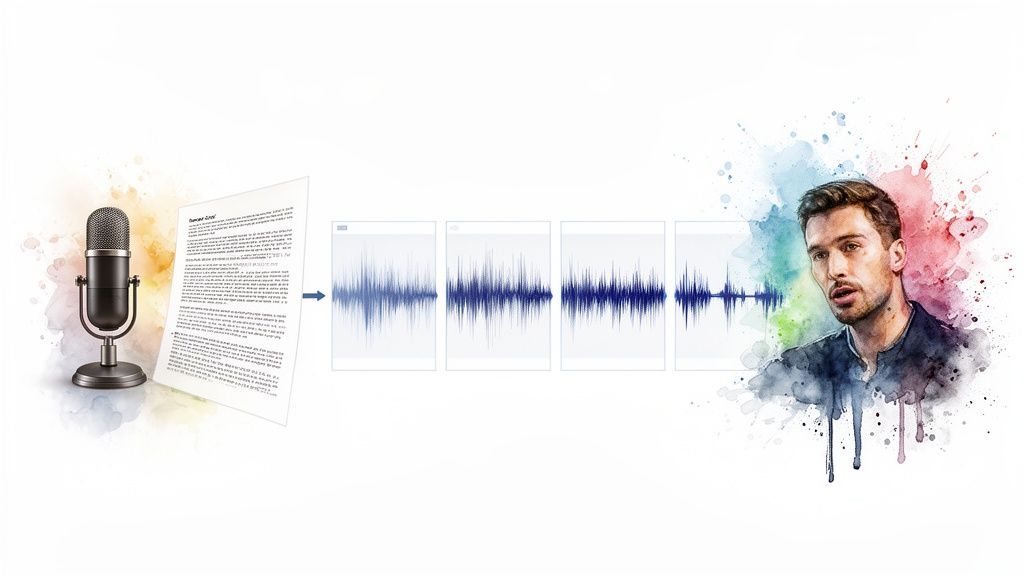
Picture this: you take a single blog post and, in minutes, turn it into a dozen unique, perfectly synced videos for social media. That’s what AI-driven content creation makes possible. You feed it a script or an audio file, and the platform generates a realistic voiceover, matching it flawlessly to relevant visuals and text overlays.
This completely sidesteps the usual pitfalls that send editors scrambling.
- No Mismatched Recordings: The voice and visuals are born from the same process, so there's a zero percent chance of them being out of alignment.
- No Audio Drift: Worried about long recordings? Don't be. The timing is algorithmically perfect from the first frame to the last.
- Instantaneous Turnaround: The entire time-sucking task of syncing audio is just… gone.
We're not just talking about shaving a few hours off an edit. This unlocks the ability to produce video at a scale that was simply out of reach before. For anyone looking to bring intelligent systems into their pipeline, it’s worth understanding the core principles of AI automation that drive this capability.
The real shift is moving from a "fix it in post" mentality to a "get it right from the start" model. When AI generates the content, "right" is the default state, and perfect sync is guaranteed.
Real-World Applications for Publishers and Marketers
For content teams, this technology is a genuine force multiplier. A marketing team can repurpose a single whitepaper into an entire series of short, engaging explainer videos for LinkedIn, X, and Instagram without ever opening a traditional NLE. Every single video asset is created with flawless audio sync baked right in.
In the same way, a publisher can convert their latest article into a narrated video summary for YouTube, tapping into a whole new audience. The process is so efficient that video creation stops being a separate, resource-intensive project and becomes a standard step on the content publishing checklist. If you want to see what this looks like in practice, our guide on how to automatically edit videos breaks these workflows down in more detail.
By removing the technical barrier of synchronization, platforms like Aeon let creators put 100% of their focus on the message and the story. It’s a powerful way to scale up your content machine, ensuring every piece of video you publish is polished, professional, and perfectly in sync from the moment it's created.
Answering Your Biggest Audio Sync Questions
Even when you do everything right, syncing audio and video can still throw a few curveballs your way. Let's dig into some of the most common headaches creators face and get you some quick, practical answers to get your project back on track.
Why Is My Audio Drifting in Long Recordings?
This is easily one of the most maddening issues out there, especially if you record long-form content like interviews, podcasts, or live events. You start a recording, and everything is perfectly locked. An hour later, the audio is a few seconds ahead of or behind the video. What gives?
This phenomenon is called audio drift, and the culprit is deceptively simple: the internal clocks in your gear.
No two devices—not your camera, not your audio recorder—run at the exact same speed. Your camera might think it's recording at 29.97 frames per second, but in reality, it could be 29.971. Your audio recorder is also chugging along at its own slightly different internal rhythm.
For a short clip, you'd never notice. But stretch that out over an hour, and those tiny little discrepancies compound, causing the audio to slowly "drift" away from the video.
Pro Tip: The professional fix for drift is a timecode generator. This little box acts as a master clock, forcing all your connected devices to march to the exact same beat. If you don't have timecode gear, the workaround is to slice your long recording into smaller chunks in your editor and manually re-sync them every 15-20 minutes. It's a pain, but it works.
What’s the Right Audio Sample Rate for Video?
Simple answer: 48 kHz (kilohertz). This is the professional standard for video production.
While you might see 44.1 kHz, which was the old standard for music CDs, 48 kHz was adopted for video because it plays nicely with common video frame rates and helps ensure everything stays locked together.
The most important thing is to make sure all of your devices are set to the same sample rate before you hit record. A mismatch is a classic recipe for sync problems and will cause you a world of hurt in post-production. Always check your settings on both your camera and your external audio recorder.
Manual vs. Automatic vs. Timecode: Which One Should I Use?
The best method really comes down to your project, your gear, and your budget. There’s no single right answer, just the right answer for your specific shoot.
Here’s how I break it down:
- Manual Syncing: This is your best friend for simple setups. Think single-camera shoots with one external microphone. It's totally free, gives you precise control, and is perfect for quick projects. It just doesn't scale well for more complex jobs.
- Automatic Syncing: This is the workhorse for most YouTubers, vloggers, and multi-camera interviews. It’s fast, incredibly efficient, and built right into modern editing software. As long as the "scratch audio" from your camera is clean enough for the software to hear, it works like a charm.
- Timecode Syncing: This is the non-negotiable standard for professional work—films, commercials, or any complex event where sync failure is not an option. It costs more upfront because it requires specialized hardware, but it pays for itself by saving countless hours in the edit and completely eliminating sync errors.
Ready to skip the sync process entirely? With Aeon, you can generate perfectly synchronized video content directly from your text or audio files, eliminating post-production bottlenecks. Create professional, engaging videos at scale and leave sync worries behind. Discover how Aeon can automate your video workflow.